Text images of your at-home prototypes to 612-254-4636, email them to lizzie@beamcenter.org, or submit them through google classroom. Lizzie will create a web page for sharing at-home projects.
Return to home page.
Try to collect recycled materials at home for use in project-making!
***You can also look on INSTRUCTABLES for more cardboard game-making resources.***
Go to BEAM ANYWHERE to find a selection of even MORE project tutorials made by various Beam Center project designers.
Lighting can have a big impact on how a photo will turn out. It’s best to take photos of projects
during the day, near a window. This will help you
avoid shadows and make it easier to see details! There are three main types of project photos:
object, process, and portaits. It’s a good idea to try to take all three kinds of photos.
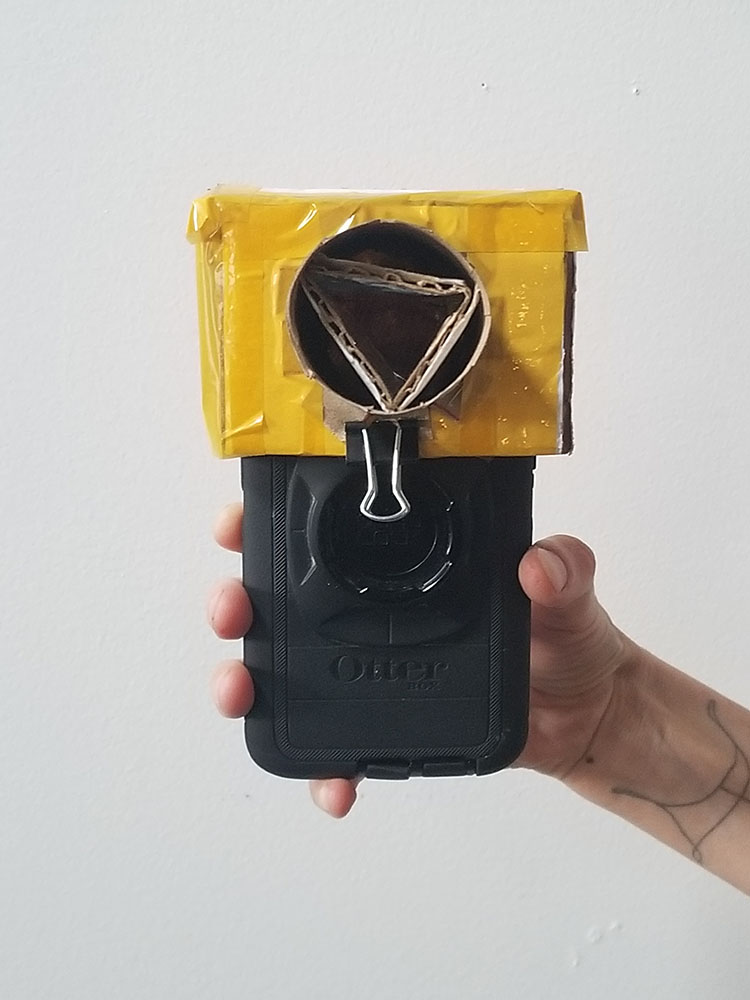
Object photographs usually showcase the finished product. A cluttered background distracts people from the thing you are trying to photograph. There are too many things for their eye to sort through, so your project can get lost in the photo. Avoid this!
A neutral background with nothing in it makes your project stand out and keeps the focus on your project.
Remember to choose a background that is a different color from your project.
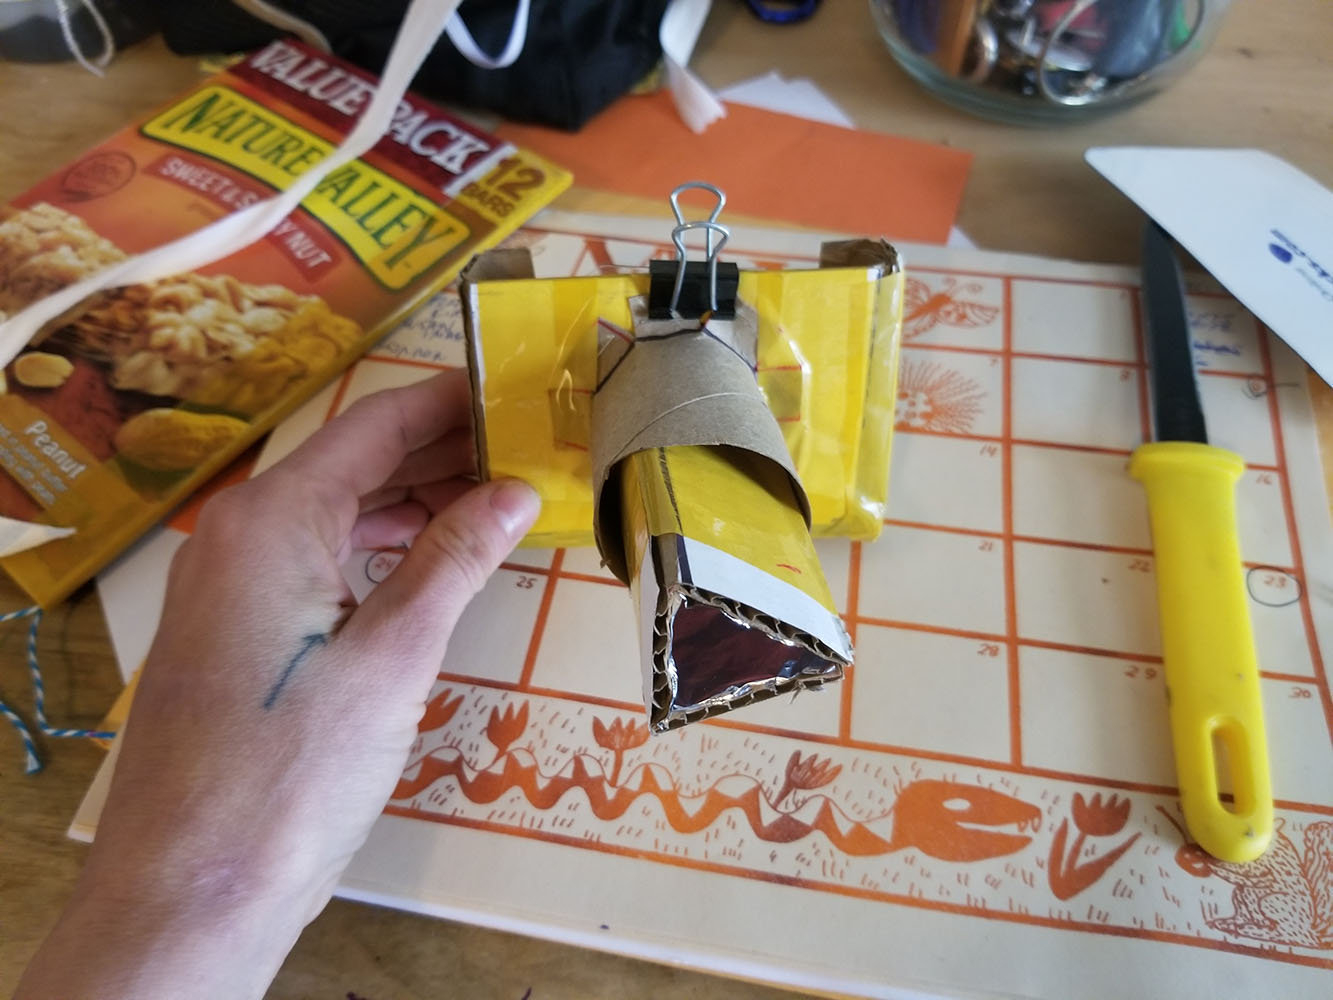
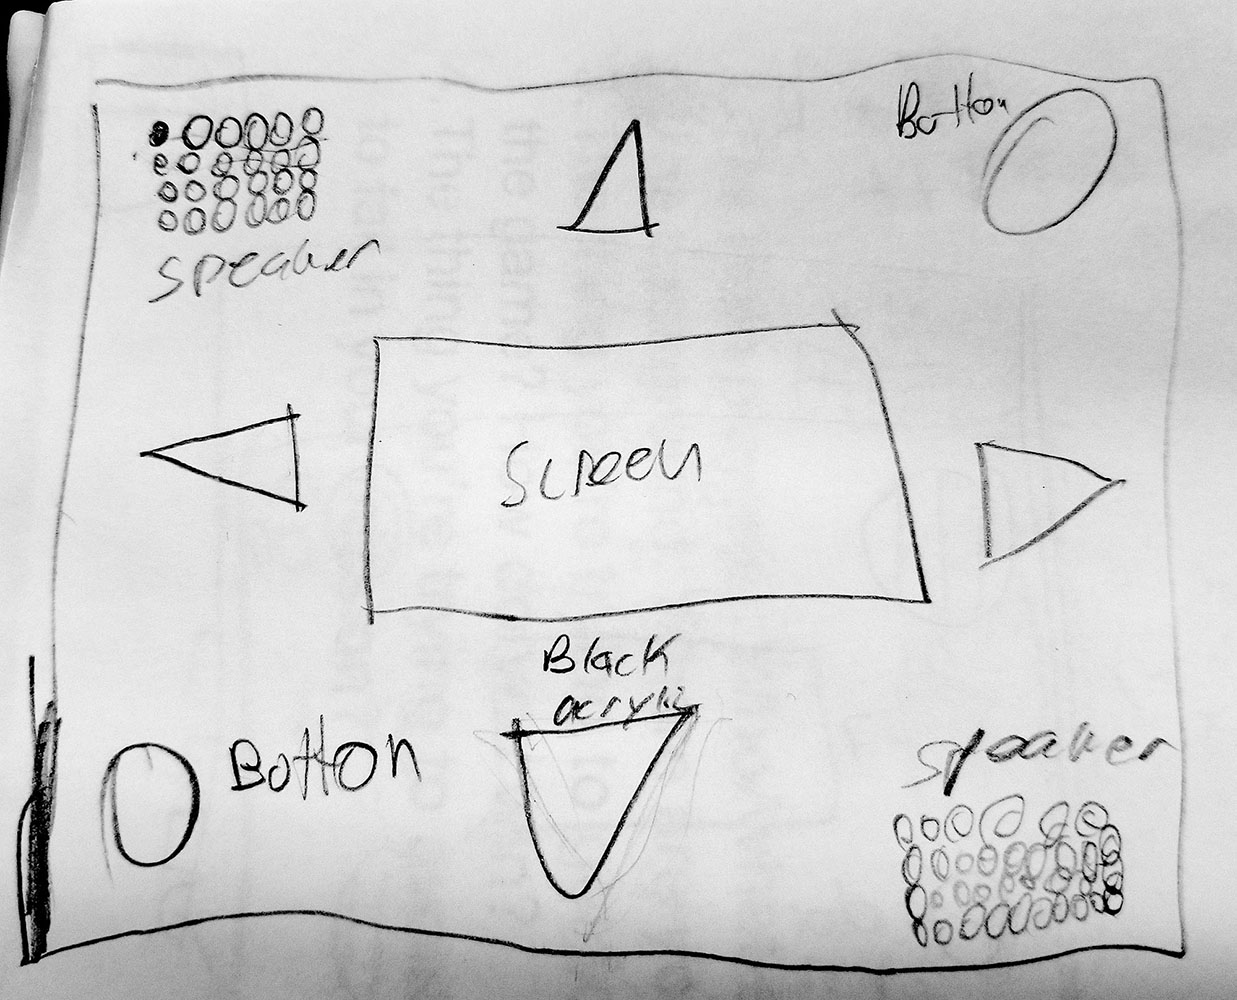
Process photographs show the steps or tools involved, or show you working on the project. This also includes sketches
that you used to figure out what to build.
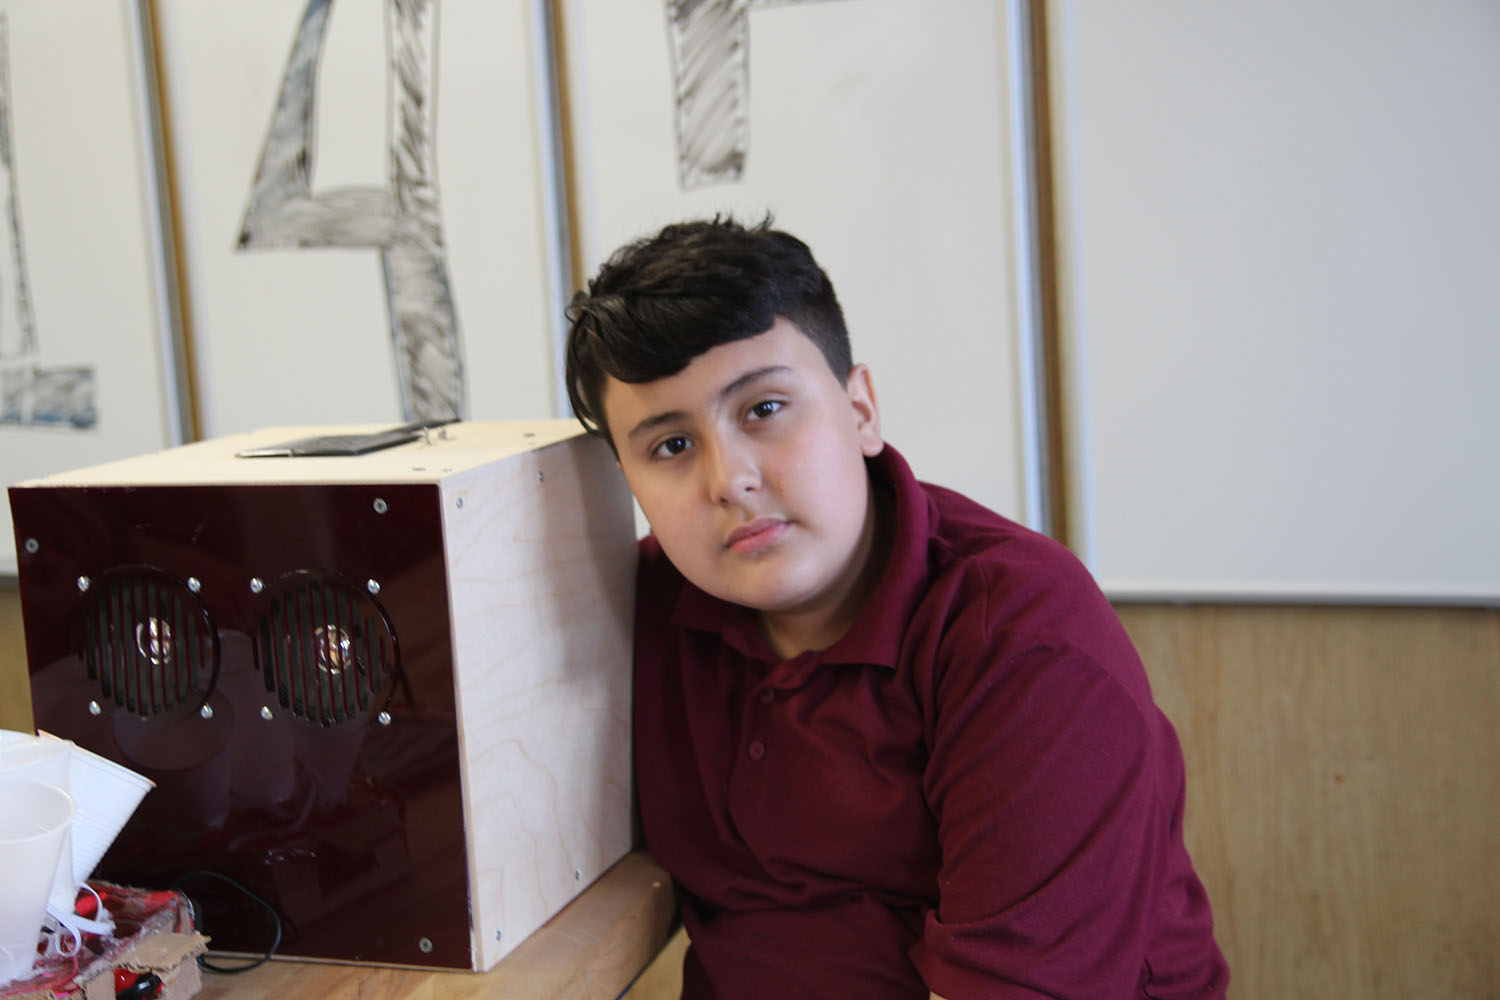
A portrait of you (or someone else) with your project is way more interesting than just the project alone. If possible,
have someone take a portrait of you or photograph someone else interacting with your project. If no one else is around,
lean your camera against something and take a photo using a timer. This will look better than a selfie!